The Van de Graaff generator is an electrostatic generator that can reach 5 megavolts. It uses a belt, and two pulleys for the most part. When the belt gets to the lower pulley, it creates a negative charge, and when the belt rolls up to the top pulley, some electrons from the bottom transfer to the top. As it rolls back around, it changes to a positive charge. So one side is positive, and the other is negative.
The sphere at the top shields the upper pulley. The sphere keeps accumulating a negative charge until the rate that the charge that's being lost equals the charging current. The outside of the sphere has a positive charge. When the pie plates are placed on top of the sphere, they get a negative charge, so it repels and flies off the top.
Friday, January 20, 2012
Tuesday, November 29, 2011
Spring Constant Lab
Procedure:
Step 1: Gather materials. Timer, spring, rubberband, and weights.
Step 2: Hang the spring up. Have the rubber band close by.
Step 3: Add grams to the spring and bounce the spring. Measure with the rubber band how many times the spring oscillates. Record oscillations and the time it takes for one.
Step 4: Calculate the spring constant and kinetic energy.


We measured the displacement, force, period, and # of oscillations.
We calculated K (spring constant), period
We then graphed the displacement vs. force then the period vs. force.
Force Displacement
0 kg 5.3 cm
.196 kg 5.9 cm
.392 kg 10.9 cm
.588 kg 17.6 cm
.784 kg 24 cm
.98 kg 30 cm
1.176 kg 36 cm
1.372 kg 42 cm
1.568 kg 48 cm
Force Period
0 kg 0 s
.196 kg .21 s
.392 kg .44 s
.588 kg .87 s
.784 kg 1.01 s
.98 kg 1.16 s
1.176 kg 1.22 s
1.372 kg 1.39 s
1.568 kg 1.48 s
We used: PE = 1/2kx squared
We graphed everything, found the slope and that was our spring constant, (k)
Fd=1/2(.032)(42.7) squared
Conclusions:
What I learned: I learned more about kinetic and potential energy, and I also learned that this takes a lot of recording! I learned about how to find constants as well.
Errors: Not all numbers were correct. I could have converted the displacement from cm to m.
Principles in Real Life: Bungee Jumping
Monday, November 28, 2011
Cardboard Chair
Members of Group: Ashley Morrison, Robbie Hinojosa, Matt Kohler
Progress Check #1:

 This is the model of the cardboard chair we're going to make. The measurements of the seat itself on the model are 10.8 in x 4 in x 4 in.
When we scale those measurements by 4, we get the measurements of the actual chair we are going to make. Those measurements will be 43.2 in x 16 in x 16 in. We then found the surface area of those measurements, which came out to be 3276.8 inches squared. We then converted that to meters squared and came out with 2.1 meters squared. The minimum surface area has to be .10 meters squared, so 2.1 meters squared will be the perfect size. Now to gather the cardboard and glue......!!
We've gathered more cardboard than we need for this project. First, we cut up the major parts of the chair. The seat, the frame (which also acts as the legs), the arms, and the back of the chair.
First, we cut out the seat and the front of the frame. Both were measured 43 x 16 inches. Then we cut out the back, which was the biggest part. That measured out to be 43 x 32 inches. Then we did the arms which were 32 x 16 inches. All major parts were assembled with GLOBS of white Elmer's glue. Random items around the house were used to stablize the glued parts as they dried overnight.


Progress Check #1:


When we scale those measurements by 4, we get the measurements of the actual chair we are going to make. Those measurements will be 43.2 in x 16 in x 16 in. We then found the surface area of those measurements, which came out to be 3276.8 inches squared. We then converted that to meters squared and came out with 2.1 meters squared. The minimum surface area has to be .10 meters squared, so 2.1 meters squared will be the perfect size. Now to gather the cardboard and glue......!!
We've gathered more cardboard than we need for this project. First, we cut up the major parts of the chair. The seat, the frame (which also acts as the legs), the arms, and the back of the chair.
First, we cut out the seat and the front of the frame. Both were measured 43 x 16 inches. Then we cut out the back, which was the biggest part. That measured out to be 43 x 32 inches. Then we did the arms which were 32 x 16 inches. All major parts were assembled with GLOBS of white Elmer's glue. Random items around the house were used to stablize the glued parts as they dried overnight.
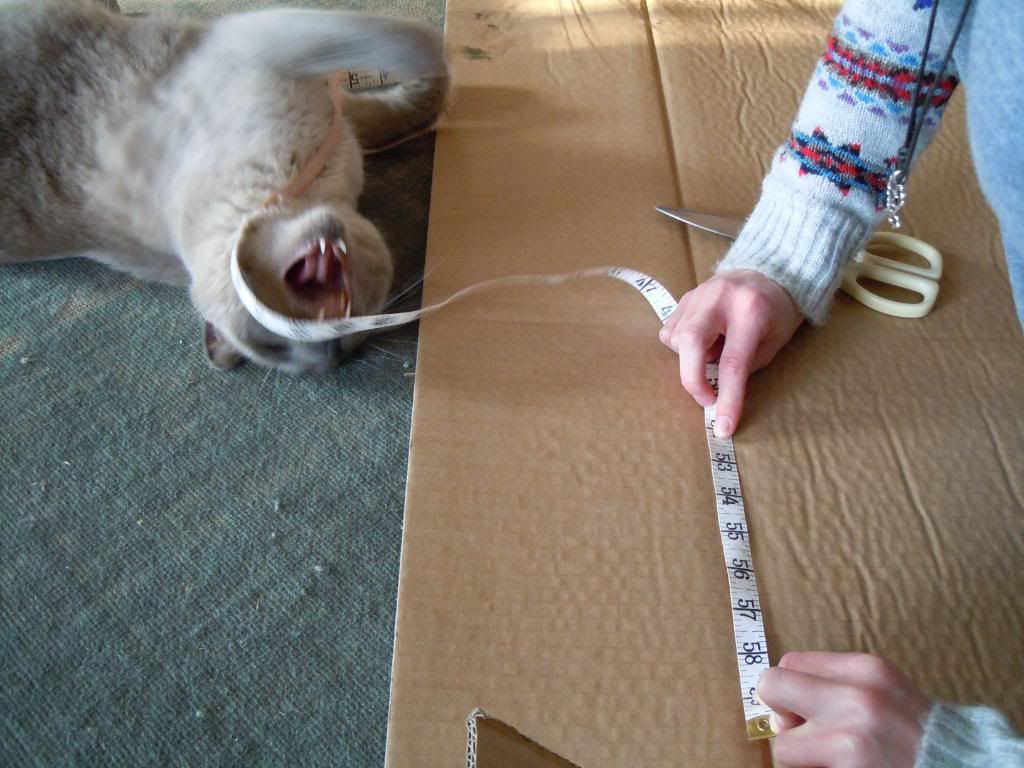
Oreo the cat helping us measure where the cuts needed to be made.
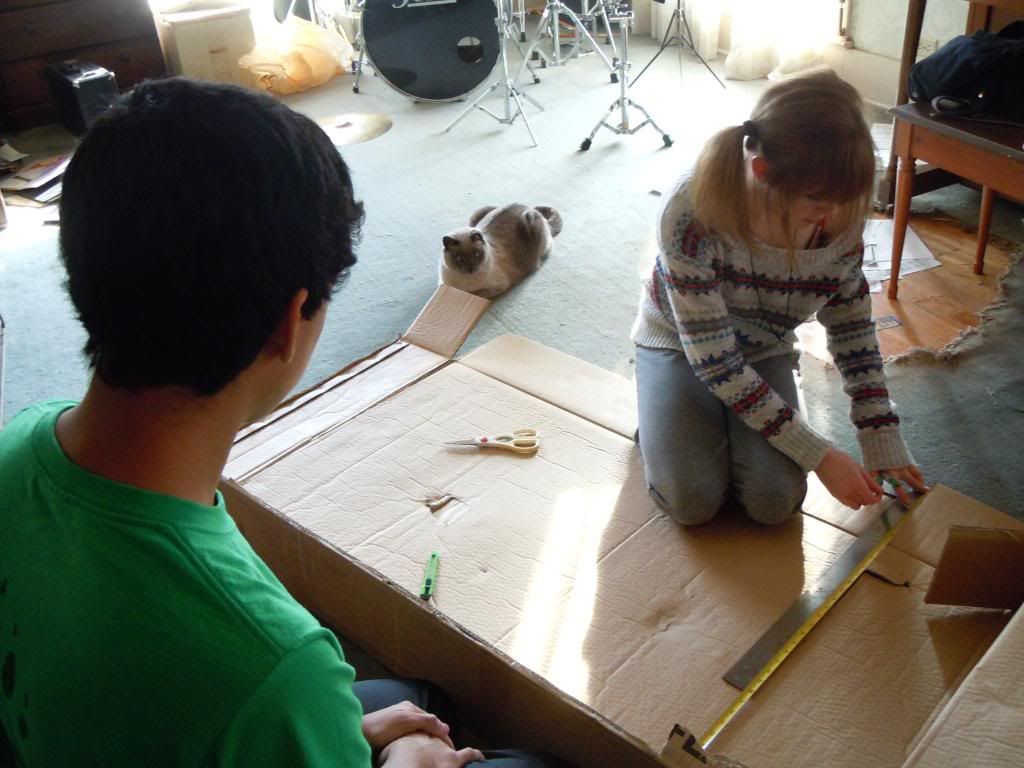
Ashley showing Robbie what needs to be done.
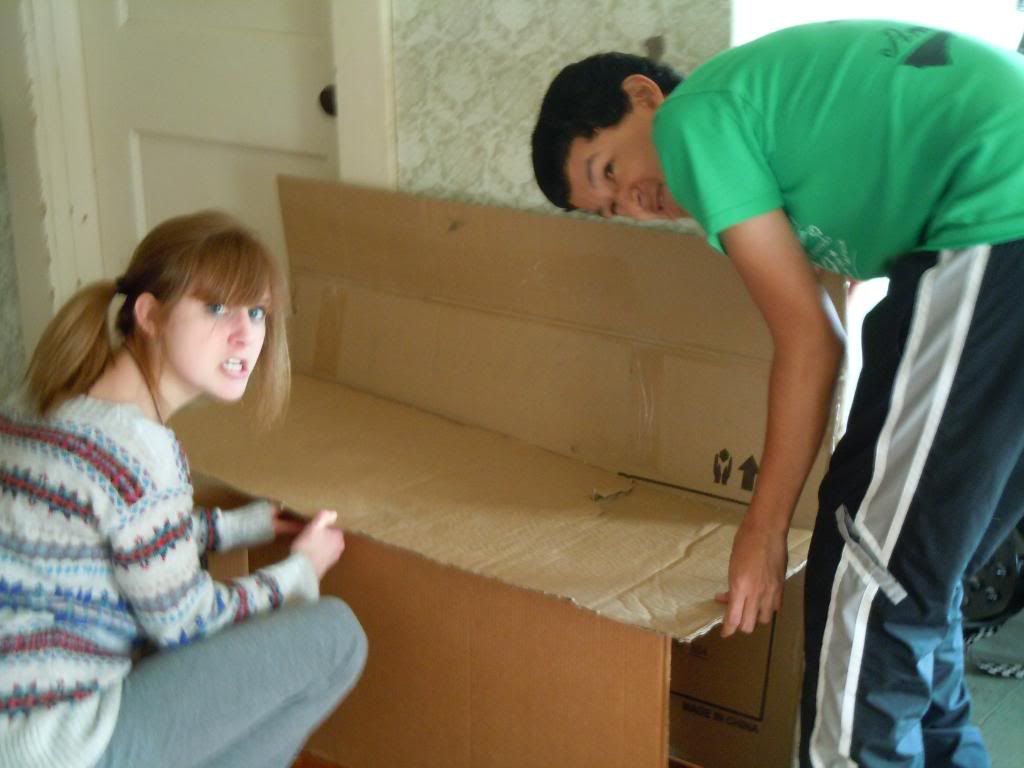
The seat and back of chair are cut out.
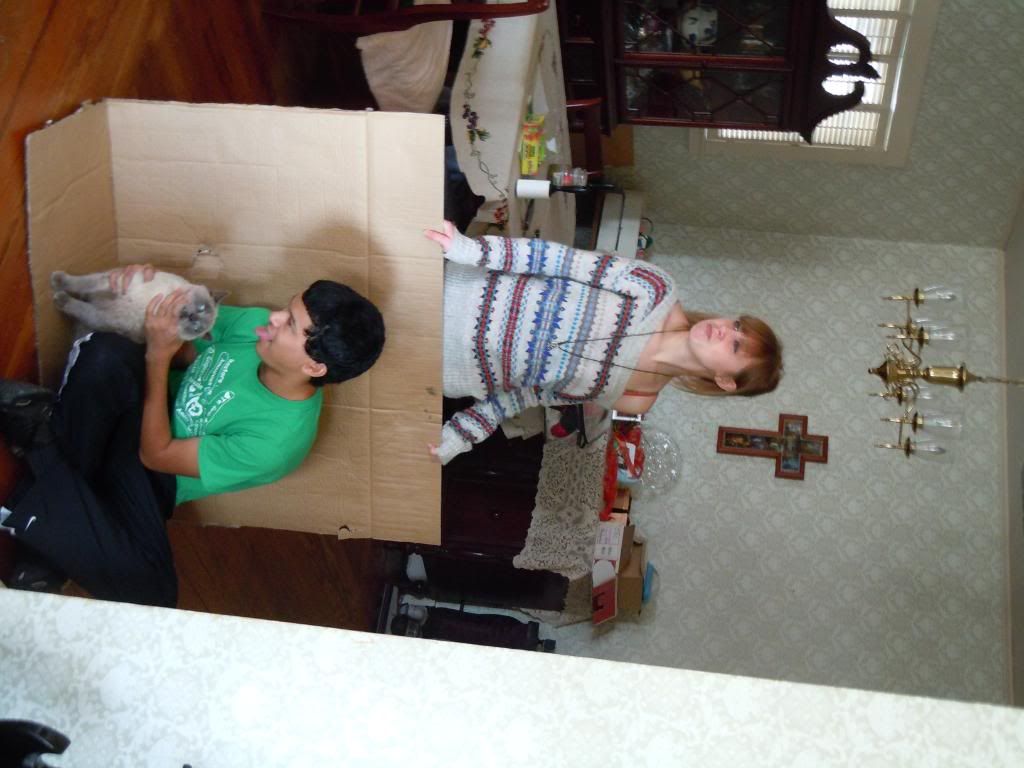
Figuring out how we are going to glue it all together.
(Matt is contributing, he's just taking pictures!)
Now all we need to do is stabilize underneath the seat, and add reinforcements. (SO. MUCH. CARDBOARD!)
We gathered THICK pieces of carboard and folded them as best we could. We cut up a strong, small box, stuck it underneath, and added the thick little pieces of cardboard into that.
That was what we used as our main stabilizer. Then, all that was left to do was layer. Layer tons and tons of cardboard for pristine support! We added pieces to both sides, the back, under the seat, the very bottom of the chair, and used thick reinforcement pieces on most of the corners so the chair would stay up.

The long piece is 8 pieces of cardboard in one, so we used it as a main support.

Figuring out where to glue everything.

View of the chair from the other side. On the seat, there are also 8-piece thick pieces of cardboard on the edges to stabilize the top of the seat as well.

We layered this piece up underneath for awesome support!!

Underneath the seat -- completed. The white line is a large glob of GLUE drying. Frustrating as can be.

This is our diagram of all vectors of the chair.
Captions say: (courtesy of Matt Kohler)
"Hey dawg. I heard you like force vectors, so I put some force vectors on your force vectors so you can force force vector vectors." "May the Force Vectors be with you."
What We Learned!! --
1. We learned what it takes to support a person. (Even if we might not have accomplished it.)
2. We learned that the more material (cardboard), the sturdier the chair was.
3. We learned that design and planning are key. You can't just FREELY do this type of project. You have to direct yourself in order to make a sufficient (or somewhat sufficient) chair.
4. We learned that a group makes the work a LOT easier.
5. We learned that the mass is an important role in the making of the chair.
6. We learned that CORRECT measurements help A LOT.
7. We learned more about how to make an awesome, correct Free Body Diagram of all the vectors.
8. We learned that projects like this take TONS OF TIME and you might not have a life for a little while and you might lose sleep while staying awake doing this project.
9. We learned what "watching paint dry" and "watching the grass grow" feels like by literally watching glue dry.
10. We learned the reason why NOBODY makes real chair out of Elmer's glue. Because Elmer's glue sucks at holding things together. You have to glob that stuff on there, no doubt.
11. We each learned what it takes for each of us to lose our temper and freak out over this project.
12. We learned how important this project was when we nearly threw up everywhere because the chair almost broke and didn't hold up.
13. We learned that the mass of the PERSON sitting on it matters too. Ashley sat in it and it did not break. However, Ashley is 100 pounds. Mr. Goodman is more than 100 pounds, so the chair might react differently with him on it. But we don't know yet!
14. We learned that looks are important as well as quality in the chair.
15. We learned that we never ever want to see another piece of cardboard ever again. We don't want to see another bottle of glue either. They are now haunting.
16. We learned that some principles in physics are actually pretty easy and not as hard as we thought.
Monday, November 7, 2011
Inertia Trick
Procedure:
Materials: Small piece of cloth and and water bottle with any amount of water.
Step 1: Place the bottle of water onto the cloth.
Step 2: Drag the cloth carefully.
[Video coming ASAP. It's being so stubborn at the wrong time.]
Explanation and What I Learned:
The water bottle in the trick stayed in place when the cloth (acts as a conveyor belt) was being dragged. The liquid in the bottle resists the motion, so the bottle stayed in it's place as the cloth moved horizontally.
Errors:
It would have definitely been better to use a conveyor belt or rolling band in place of a simple cloth. The cloth made the trick not work as well as it should have.
Applications/Where you might find the studied principle
You can observe this act of inertia at the grocery store when you place your items at the checkout conveyor belt. Place a bottle horizontally and notice what it does.
Thursday, November 3, 2011
Comment on rolley chair in the hallway (Newton's 2nd)
To analyze Newton's 2nd Law of Motion, we took a small, simple rolling chair into a long hallway. We tested acceleration, masses, and forces, and how the difference in those things affected different movement. Since Newton's 2nd law says that forces are unbalanced, we experimented. We put different masses of people into the chair, and the heavier the mass, the more difficult it was to accelerate. The smaller the mass, the easier it was to accelerate.
It was also a matter of forces. Some people were weaker than others. The stronger the person, the easier the acceleration, with the weight in the chair still playing a role. The weaker the person, the more difficult it was to acclerate, with the weight still playing a role.
This all showed the unbalanced forces between the weight of the person and chair, the force acted upon the chair, and how the acceleration was affected by those two variables.
Monday, October 24, 2011
Coefficient of Friction
Procedure:
Materials: Wood ramp, Sandpaper wood block, smooth wood block, protractor
Step 1: Get the weight of the wooden blocks.
Step 2: Place the smooth block onto the ramp. Lift the ramp until the block slides down. Measure the angle at which it slid down with a protractor.
Step 3: Repeat Step 2 for the sand paper block.
Step 4: Find the angles and solve for the normal force of friction and the coefficient.
Analysis:
(picture)
Smooth:
Ff = .73 N
FN = 1.3 N
Ff = (M)(FN)
M = Ff/FN = .73/1.3
M = .56
Sandpaper:
Ff = .92 N
FN = 1.18 N
Ff = (M)(FN)
M = Ff/FN = .92/1.18
M = .78
Conclusion:
What I learned:
I learned how how to calculate the coefficient of friction. I learned that different materials change the coefficient. Some items have more friction than others.
Errors: When sliding the blocks down the ramp, the angles at which the blocks slid made a difference. The angles at which they fell were different if the block was turned a certain way.
Studied Principle?: Some might need to use these formulas when needing to know what angle to build something, what angle something needs to slide down that structure, or what materials needed when building structures.
Wednesday, September 21, 2011
2D Motion with Horizontal Vi
Procedure:
Materials: ramp, meter stick, stopwatch, tennis ball, tape.
Step 1: Set up the ramp on the table, then set up the meter stick on the floor horizontally.
Step 2: Find equations of where the tennis ball lands on the horizontal stick.
Step 3: Test your calculations.
Analyzed Data:

and

Materials: ramp, meter stick, stopwatch, tennis ball, tape.
Step 1: Set up the ramp on the table, then set up the meter stick on the floor horizontally.
Step 2: Find equations of where the tennis ball lands on the horizontal stick.
Step 3: Test your calculations.
Analyzed Data:
and
Subscribe to:
Posts (Atom)